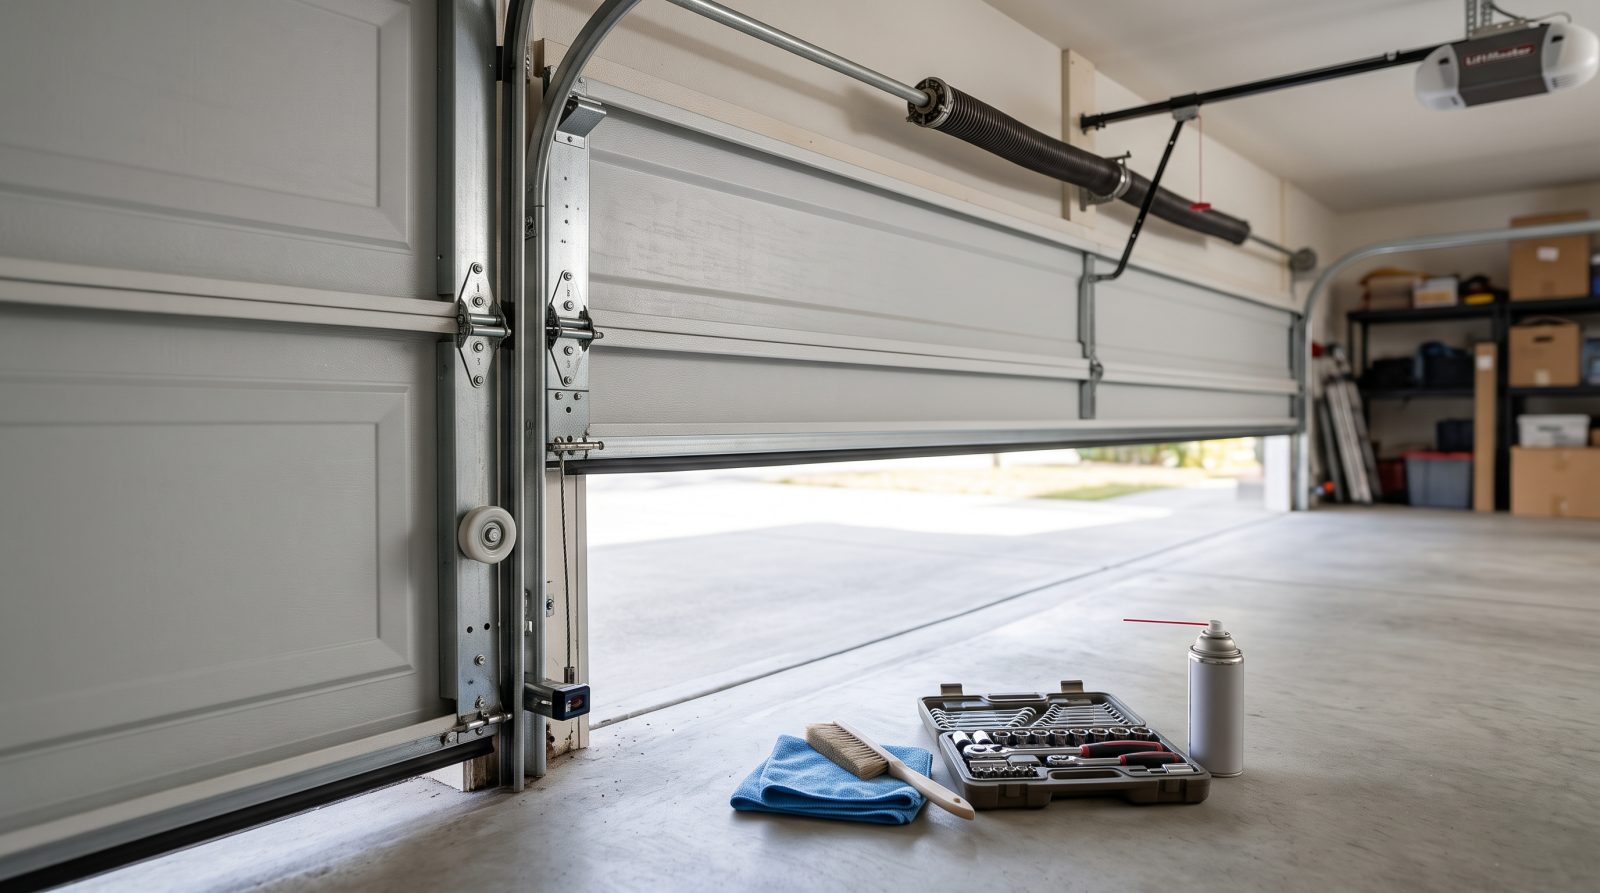
Why Garage Door Maintenance Matters More Than People Think
A garage door is a balanced mechanical system under serious tension. The springs above or beside the door store enough energy to lift a panel assembly that can weigh well over a hundred pounds, and the cables, rollers, hinges, and track all work together to make that lift feel effortless. When one component drifts out of spec, the rest of the system compensates, quietly wearing itself out faster. A door that is slightly out of balance, for example, forces the opener motor to strain on every cycle, shortening its life and masking the real problem until something snaps.
The four failures that account for the bulk of urgent garage door repair calls, broken torsion or extension springs, openers that stop responding, doors that come off track, and worn or frayed lift cables, are overwhelmingly wear-and-tear failures. That is exactly the category routine maintenance is designed to head off. You cannot make a spring last forever, but you can keep it well lubricated, catch fraying cables before they let go, and keep the door balanced so nothing is overworked.
There is a safety dimension too. The auto-reverse and photo-eye safety systems on modern openers are there to stop a closing door from crushing a person, pet, or car. Those systems can fall out of alignment or get coated in dust and grime, and a door that does not reverse on contact is a genuine hazard. Testing them takes under a minute and belongs on every maintenance pass. Maintenance is not just about avoiding a repair bill; it is about a door you can trust around your family.
Your Core Maintenance Checklist (Do This 2-4 Times a Year)
These are the foundational tasks every garage door needs regardless of where you live. Set aside about twenty to thirty minutes and work through them in order. The only tools you need are a step stool, a cloth, a level or a smartphone level app, a socket or wrench set, a spray lubricant made for garage doors (a silicone or lithium-based product, not a degreaser like WD-40 used as a long-term lube), and your eyes and ears. Always run this routine with the door in a safe state and your hands clear of pinch points between sections.
Start with a look-and-listen test: open and close the door fully and watch how it moves. A smooth, even, quiet cycle is the baseline. Grinding, scraping, popping, or a door that hesitates, jerks, or runs lopsided is a clue worth chasing down before it becomes a breakdown call.
- Visual inspection: with the door closed, look over the springs, cables, rollers, pulleys, and brackets for rust, gaps in the spring coils, fraying or rust on the cables, and any loose or missing hardware. Do not touch or adjust the springs or cables themselves.
- Tighten the hardware: garage doors vibrate constantly, so check and snug up the bolts and brackets on the door and track with a socket wrench. Do not overtighten, and never loosen the bolts on the bottom brackets, they are under cable tension.
- Lubricate the moving parts: apply a garage-door-rated lubricant to the hinges, rollers (the stems, not nylon wheels), springs, and the bearings on the torsion bar. Wipe off excess. Lubrication is the single highest-value task on this list for noise and longevity.
- Test the door balance: pull the manual release cord (with the door closed) to disconnect the opener, then lift the door halfway by hand. A balanced door stays roughly in place. If it slams down or shoots up, the spring tension is off, that is a pro job.
- Test the auto-reverse safety: place a solid object like a wood block flat on the floor in the door's path and close the door. It should reverse the moment it touches the object. If it does not, stop using the opener and get it serviced.
- Test the photo-eye sensors: close the door and wave an object through the beam near the floor. The door should immediately reverse. Wipe the sensor lenses clean and confirm they are aligned and their indicator lights are steady.
- Clean the tracks: wipe out dirt and debris from inside the tracks with a cloth. Do not lubricate the inside of the tracks, rollers need to roll, not slide on a greasy surface.
- Check the weatherstripping: inspect the bottom seal and the seals along the sides and top for cracks, gaps, or brittleness, and replace any that are no longer sealing.
Season-by-Season: Tuning Maintenance to Your Climate
A garage door in Phoenix and a garage door in Minneapolis do not age the same way, and a smart maintenance routine accounts for that. Temperature swings, humidity, salt, and grit all attack different parts of the system. Use the core checklist above as your baseline, then layer on the seasonal focus that matches your region. As a general rule, do a thorough pass in spring and fall, with quick check-ins as the weather turns extreme.
The single most important seasonal truth: cold weather is hard on garage doors. Metal contracts, lubricant thickens, and springs become more brittle, which is why broken-spring calls tend to cluster on the first hard cold snaps of the year. Doing your fall maintenance before that first freeze is one of the best preventive moves you can make.
- Spring (after winter): clean off road salt, sand, and grime that built up over winter, especially in regions that salt their roads, since salt accelerates rust on cables, springs, and hardware. Re-lubricate everything, as winter cold often strips or stiffens old lubricant.
- Summer (heat and humidity): in hot or humid climates, check for warping on wood doors and condensation-driven rust on steel components. Verify the opener is not straining in the heat, and confirm seals are still flexible rather than baked hard and cracked.
- Fall (before the freeze): this is your most important pass. Lubricate thoroughly with a product rated for low temperatures so it does not gum up, inspect springs closely for any gaps or rust, and confirm the door is balanced before the cold makes any weakness worse.
- Winter (during the cold): keep the bottom seal and floor clear of ice so the door does not freeze to the ground, watch for sluggish or jerky operation that signals stiff lubricant or contracting metal, and never force a frozen door, which can snap a cable or strip the opener gears.
- Coastal and high-humidity regions: inspect for rust more frequently, since salt air corrodes hardware year-round, and favor corrosion-resistant components when parts need replacing.
- Dry, dusty, and desert regions: clean tracks and sensors more often, since fine grit fouls rollers and coats photo-eye lenses, and re-lubricate more frequently as dust can dry out and contaminate the lubricant.
DIY vs. Call-a-Pro: Knowing Where the Line Is
Honest maintenance guidance includes knowing what not to touch. Some garage door tasks are genuinely DIY-friendly and safe for a careful homeowner. Others involve components under extreme tension that injure people every year, and those belong to trained technicians with the right tools, full stop. Drawing this line clearly is part of doing the job right.
The safe DIY zone covers cleaning, visual inspection, tightening standard hardware, lubrication, testing balance and safety features, replacing weatherstripping, and changing remote and keypad batteries. None of these require you to release or work against the door's stored spring energy. If a task asks you to adjust, wind, or remove a spring or cable, you have crossed into pro territory.
The reason is simple physics. Torsion and extension springs and the cables that work with them are loaded with enough force to cause serious injury if they slip or are released incorrectly. A door that is off balance, a spring with a visible gap or that has clearly broken, a frayed or snapped cable, or a door that has jumped its track are all situations where the safe and lasting fix is a local professional, not a video and a pair of pliers.
- Safe to DIY: lubrication, hardware tightening, track cleaning, sensor cleaning and alignment, weatherstrip replacement, battery changes, and running the balance and safety tests.
- Call a pro: broken, gapped, or rusted-out springs, frayed or broken cables, a door off its track, persistent imbalance, bent tracks or rollers, and opener motor or gear failures.
- Stop using the door immediately and call a pro if: you hear a loud bang and the door will not lift, a cable is dangling, the door is crooked or stuck, or the door does not reverse during the safety tests.
- When in doubt, get eyes on it: a fast local diagnosis is far cheaper than a forced repair after a part fails completely, and many shops offer same-day visits for these common problems.
Reading the Warning Signs Between Maintenance Passes
Maintenance is not only the scheduled twenty-minute session; it is also paying attention every time you use the door. Your garage door talks to you, and learning its normal sound and motion makes the abnormal obvious. Catching a symptom early often turns what would have been an emergency replacement into a simple, planned tune-up.
New or worsening noise is the most common early signal. A bit of routine hum and rattle is normal, but grinding usually points to worn rollers or a lubrication problem, popping and banging can indicate spring or hardware trouble, and a rhythmic squeak typically means dry hinges or rollers. Match the sound to its likely source and you can often address it on your next pass before it escalates.
Movement tells a story too. A door that opens or closes unevenly, hesitates partway, sags on one side, reverses for no reason, or has become noticeably heavy to lift by hand is signaling that the system is out of balance or a component is failing. Combined with anything you see, sagging cables, gaps in a spring coil, or a door that no longer seals at the bottom, these are your cues to inspect closely and decide whether it is a DIY fix or time to bring in help. If the warning signs point to springs, cables, or track, do not wait, those are the failures that leave a door stuck, and a quick local visit can sort it before you are locked out of your own garage.