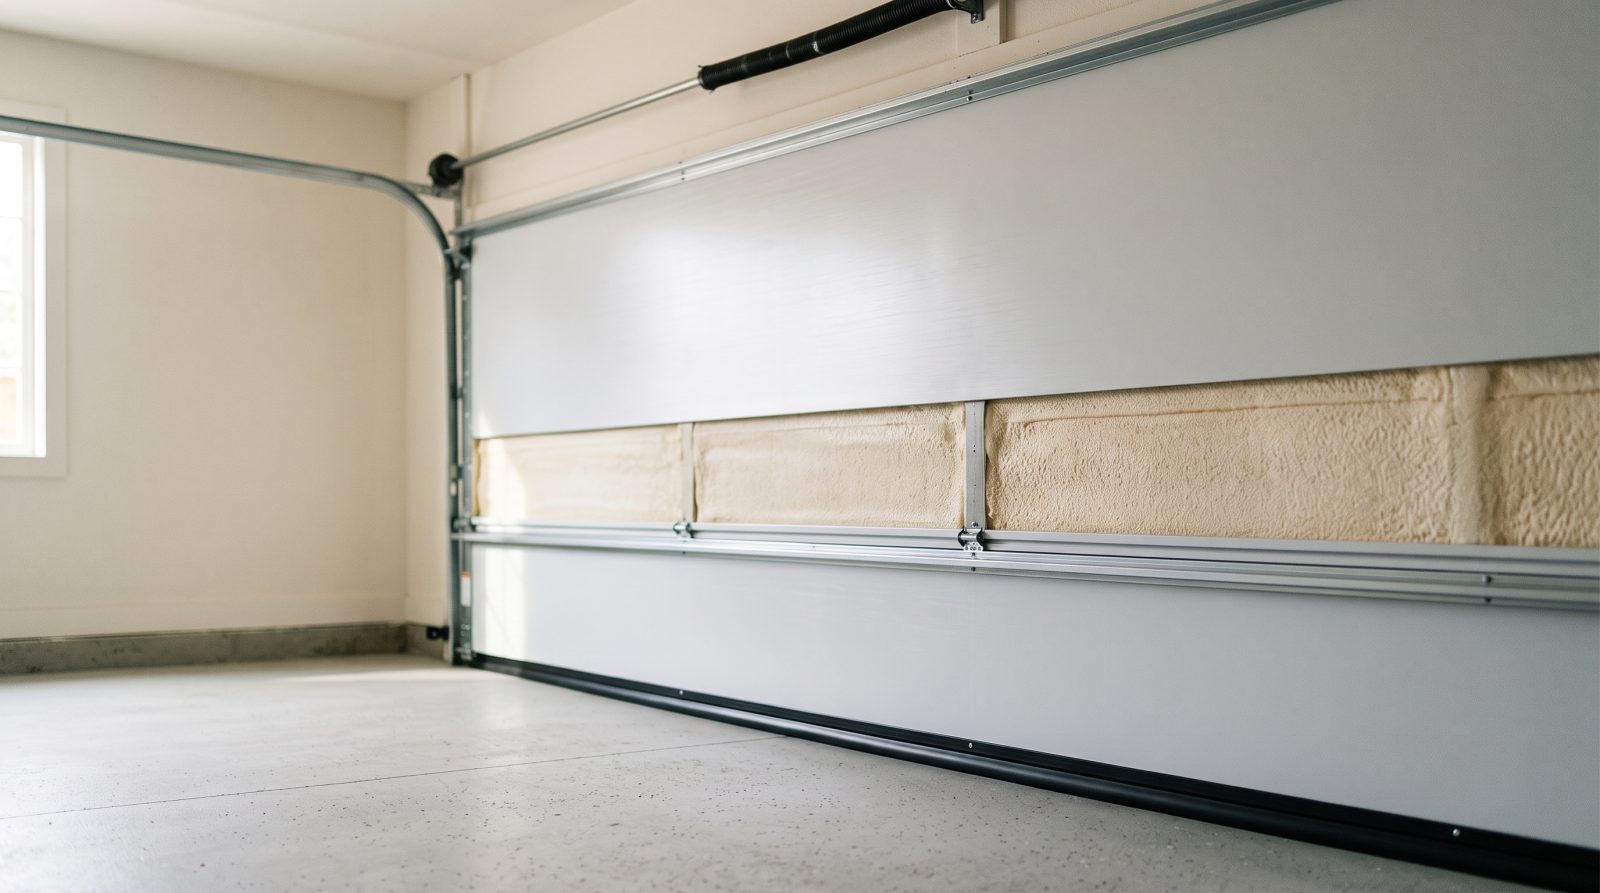
Why Garage Door Insulation Matters More Than People Think
Most garages were never designed to be comfortable. The door itself is frequently a single layer of steel, aluminum, or wood with nothing behind it, which means it conducts outdoor temperature straight into the garage. If your garage is attached, that heat or cold then migrates through the shared wall and ceiling into your living space, making your HVAC system work harder than it should. Even a detached garage benefits, because a stable interior temperature protects stored items, vehicles, paint, batteries, and anything sensitive to freezing or extreme heat.
Insulation does three useful things at once. It slows heat transfer so the garage stays closer to a comfortable temperature, it dampens outside noise from traffic and weather, and it adds rigidity to the door panels so they feel and sound more solid when operating. For homeowners converting a garage into a gym, office, workshop, or playroom, insulation is usually the difference between a usable room and a space that is only tolerable a few months a year.
It is worth being honest about limits, though. A door is only one part of the thermal picture. If the garage walls and ceiling are uninsulated, or if there are large air gaps around the door perimeter, even a high-rated insulated door will underperform. The best results come from treating the door, the weather seals, and the surrounding structure as a system rather than expecting the door alone to solve everything.
Understanding R-Value (and Why the Numbers Can Mislead)
R-value measures resistance to heat flow: the higher the number, the better the material slows heat transfer. For garage doors you will commonly see ratings roughly in the R-6 to R-10 range for mid-grade insulated doors, climbing toward the high teens for premium polyurethane-filled doors. Lower-cost kits and thinner panels tend to land in the low single digits. As a general rule, more R-value means better temperature control, but the rating alone does not tell the whole story.
The most important caveat is the difference between a center-of-panel R-value and the door's true performance once installed. A manufacturer may quote the R-value at the thickest point of the panel, which ignores heat loss through the frame, the seams between sections, and the gaps around the perimeter. Two doors with the same advertised number can perform very differently in the real world depending on construction quality and how well they seal. Treat R-value as a useful comparison tool, not an exact prediction of comfort.
There is also a point of diminishing returns. Jumping from no insulation to a modest R-value delivers a dramatic improvement; pushing from a high rating to an even higher one yields smaller gains. For an unconditioned garage used mainly for parking and storage, a mid-range value is often plenty. For a garage you actively heat or cool, or one attached to a room you live in, investing in a higher rating and tight sealing makes far more sense.
- Center-of-panel R-value is the marketing number; installed, whole-door performance is what you actually feel.
- Polyurethane (foamed-in) cores generally outperform polystyrene (rigid board) at the same thickness because they bond to the panel and reduce gaps.
- Sealing the perimeter and section joints can matter as much as the core material for stopping drafts.
- Higher R-value matters most for attached, conditioned, or living-space-adjacent garages; less so for a detached parking-only garage.
The Main Insulation Methods, Compared
There are a few distinct paths to an insulated garage door, and they differ a lot in cost, durability, and the result you get. The right one depends on your existing door, your budget, and how much performance you actually need.
Factory-insulated replacement doors are the gold standard. These are built with an insulating core sandwiched or foamed between steel skins (often called sandwich or polyurethane construction). They deliver the most consistent R-value, the best weather sealing, the cleanest look, and the quietest, most solid operation. They are also the most expensive route and require professional installation, but if your current door is old, dented, single-layer, or failing, replacement often makes more sense than patching an inadequate door.
Retrofit insulation kits are the popular DIY middle ground. These use rigid foam panels (polystyrene) or reflective batt-style material that you cut to fit and press or fasten into the inside of each door section. They are affordable and noticeably improve comfort and noise, but they have real limits: added weight can affect spring balance, they rarely seal seams as well as a factory door, and a sloppy fit leaves thermal gaps. Reflective foil kits work best against radiant heat in hot, sunny climates but do less for conduction in deep cold.
Spray foam and loose fill are sometimes attempted but are generally a poor fit for garage doors. The panels need to remain lightweight and flex slightly during operation, and rigid expanding foam can warp thin steel, throw off the door balance, and interfere with the rollers and tracks. For the door itself, stick with purpose-made kits or a replacement; save spray foam for the surrounding walls and ceiling.
- Factory-insulated door: best performance and sealing, highest cost, professional install, ideal when the existing door is old or failing.
- Rigid foam retrofit kit: good value, real comfort gain, watch the door balance and seam gaps.
- Reflective foil kit: strongest in hot, high-sun regions for radiant heat; weaker against deep-cold conduction.
- Spray foam on the door panels: generally not recommended; it adds weight, can warp panels, and may unbalance the door.
Weather Sealing: The Step Most People Skip
You can install the best insulation available and still feel cold drafts and see daylight around the edges if the seals are worn. Weather sealing is the unglamorous companion to insulation, and on many doors it delivers a bigger comfort improvement per dollar than the panels themselves. Air leakage is often the real culprit behind a freezing garage, not the door's core material.
The bottom rubber seal (the astragal) is the first thing to check. Over time it cracks, hardens, and flattens, leaving a gap along the floor where wind, water, leaves, and even small pests get in. Replacing it is inexpensive and one of the highest-value fixes you can make. Next is the perimeter weatherstripping along the top and sides, which should compress gently against the door when closed. The thin gaskets between door sections, where fitted, also matter for stopping air movement through the seams.
Climate shapes what to prioritize. In cold regions, a flexible bottom seal that stays pliable in freezing temperatures and tight perimeter stripping are essential to block icy drafts and snow intrusion. In hot, humid areas the focus shifts toward keeping conditioned or shaded air in and blocking heat and moisture, and toward seals that resist UV degradation. In storm-prone coastal zones, sealing also helps reduce wind-driven rain entry. If your floor is uneven, a standard seal may not close the gap, and a threshold seal mounted to the floor can work alongside the door seal.
Choosing the Right Approach by Climate and Use
The smartest insulation decision starts with two questions: what is your regional climate, and what do you do in the garage? A door that makes sense for a detached parking garage in a mild coastal town is overkill, and the wrong priorities can leave a converted living space in a cold climate uncomfortable.
In cold and mixed climates across the northern states and mountain regions, conduction is the enemy. Prioritize a higher R-value, polyurethane construction if replacing, and cold-rated seals that stay flexible. If the garage is attached or has a room above, the upgrade also helps your home's heating bills and reduces the cold-floor feeling in the room overhead. In hot and sunny climates across the South and Southwest, radiant heat dominates, so reflective-faced insulation and light-colored or heat-resistant door finishes earn their keep, and ventilation strategy matters as much as the door. In humid and coastal areas, look for moisture- and UV-resistant materials and keep an eye on seals that degrade faster in sun and salt air.
Match the investment to the use. For simple parking and storage, a mid-range insulated door or a quality retrofit kit plus fresh seals is usually enough. For a garage you actively heat or cool, or one you have turned into a gym, office, or workshop, go further: a higher-rated door, careful sealing, and ideally insulating the walls and ceiling too, since the door cannot carry the whole load. Whatever you choose, weigh insulation against the condition of the door. If the door is already worn, noisy, or off-balance, addressing those issues at the same time avoids paying twice.
If you are unsure where your door stands, a quick assessment from a local technician can confirm whether your existing door is worth insulating or whether a replacement is the better long-term value, and can flag any balance or hardware issues before added weight makes them worse.
- Cold/mixed climates: prioritize higher R-value, polyurethane cores, and cold-flexible seals.
- Hot/sunny climates: favor reflective insulation, lighter or heat-resistant finishes, and good ventilation.
- Humid/coastal areas: choose moisture- and UV-resistant materials and inspect seals more often.
- Conditioned or converted garages: insulate the door, the seals, and the walls and ceiling as a system.
Costs, DIY Limits, and When to Call a Pro
Garage door insulation spans a wide price range, and any figures here are typical industry estimates that vary by door size, material, R-value, region, and scope rather than fixed quotes. As a rough frame, DIY retrofit kits sit at the low end and are the most budget-friendly route, replacement weatherstripping and bottom seals are inexpensive add-ons, and a full factory-insulated replacement door is the largest investment because it includes the door, hardware, and professional installation. Your actual cost depends heavily on door size, single versus double, the material you choose, and local labor, so treat any single number with caution and get a real assessment for your specific door.
A DIY retrofit kit is genuinely within reach for many homeowners and is a satisfying weekend project. The honest cautions are about weight and balance: adding insulation changes how hard the springs have to work, and a door that is suddenly too heavy can strain the opener, wear parts faster, and become unsafe. After insulating, the door should still lift smoothly by hand and hold its position when stopped halfway. If it slams down, struggles to rise, or feels unbalanced, that is a sign the spring tension needs professional adjustment.
Spring work, opener force adjustments, and torsion systems are where DIY should stop. Garage door springs store enormous energy and are a leading cause of serious injury when handled without the right tools and training. If your insulation upgrade reveals a worn door, an unbalanced system, off-track sections, frayed cables, or an opener struggling under the new weight, those are jobs for a qualified technician. Getting a local pro to the door quickly for the parts that are genuinely hazardous is the safe move, and it protects the work you just did.
When you are ready to move forward, whether you want a replacement insulated door quoted or just a safety check after a DIY upgrade, you can request a free quote and have a local professional assess your specific door and climate.
- Treat all prices as typical, estimate-only ranges that vary by door size, material, R-value, region, and scope.
- After any DIY insulation, confirm the door still lifts smoothly by hand and stays put when stopped halfway.
- Added insulation weight can unbalance the door and strain the opener; have a pro check spring tension if it feels off.
- Leave springs, cables, torsion systems, and opener force settings to a qualified technician.